
Your shopping cart is empty.
Creating a Script

Last updated on March 31 2022
The Script Manager is the area where you create and manage all of your custom Ableton MIDI Remote Scripts (we will refer to them as ‘Scripts’ for short). Although the Script Manager displays by default, to display it click on the Script Manager Icon in the left column and the Script Manager will appear in the black column (Manager Area) to the right.
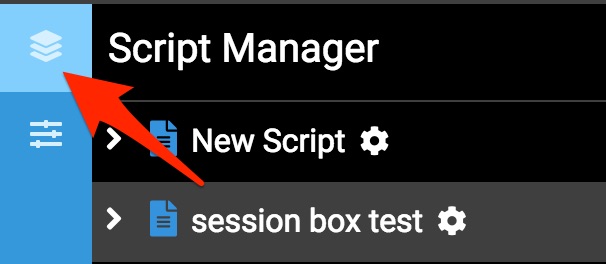
Add a new Script by clicking the plus (+) icon in the Script Manager’s header.

The Script Settings Menu will then automatically open to the right. Give your Script a descriptive name. We will use ‘Step by Step Tutorial’ as the name here.

Select a Controller to attach to your Script. The Controller you created in the previous part of this tutorial will be an option here for you to select.

You can change the assigned Controller at any time.
Setting Global LED Feedback for your Script
Global LED Feedback is set as 'Default' for a new script. This means that Feedback will be sent to your MIDI Controller and it will be using the Attached Controller's Default LED On and Off values.
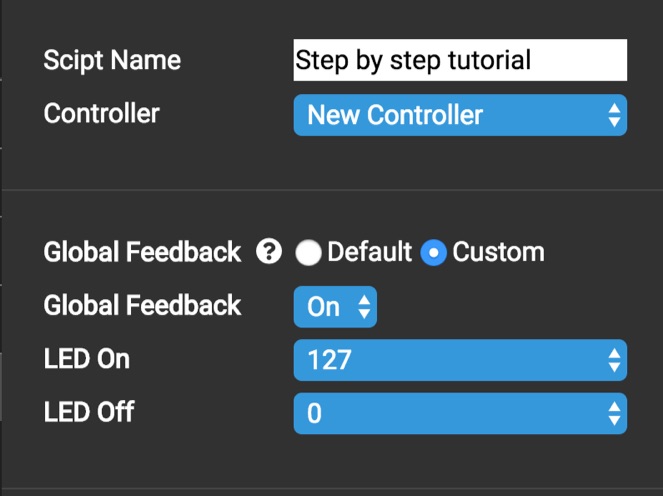
You can override this by changing it to 'Custom' where you will see 3 new options appear. Turn 'Global Feedback' to Off in order to send no LED feedback to your MIDI Controller. Set Global LED On / Off values specific to your script.
Add a Mode
Click on the Plus Icon (+) to the right of your Script name.

The Mapping Menu will appear to the right, this contains all Mapping types in a Hierarchical Menu. Click ‘Mode’.

A “Mode’ Mapping with the name ‘Mode 1' will be added under your Script name in the Script Manager, and the Mode’s Settings Menu appears in place of Mapping Type Menu.
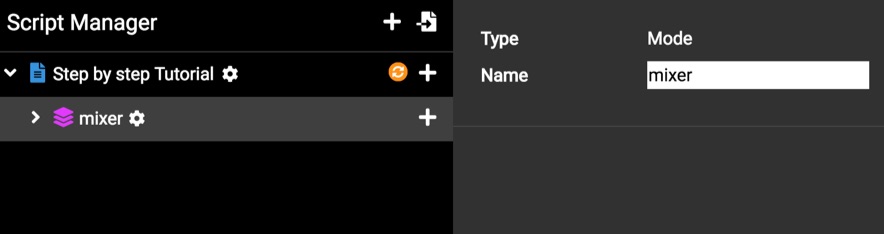
You can open and close the Settings Menu by clicking the Cog Icon immediately to the right of the Mode name. All Mappings for your Script are grouped together inside Modes. Only 1 Mode can be activate at a time inside Ableton Live, and the active Mode can be changed using ‘Mode Selector’ Mappings. They are mainly used for giving the Physical Inputs on your MIDI Controller, multiple functions depending on the Active Mode. For example you could have a Mixer Mode, in which you control Mixer style functions such as Track Volume, Panning & Sends. Another Mode could be a Device Mode where your Inputs Control Device Parameters. Give your Mode the name ‘Mixer Mode’.
Adding a Mapping to your Script
Click the Plus Icon (+) to the right of your Mode. The Mapping Menu will appear.
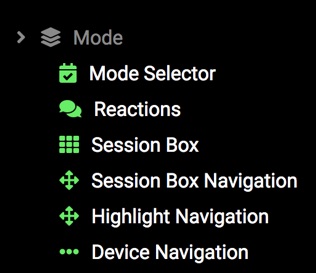
You will see that the Mode option is now greyed out and it’s child mappings are available to add. There is a strict Hierarchy in which Mappings can be added. Click the ‘Undo’ Option. This adds an Undo Mapping to your Script. it’s Settings Menu opens to the right.
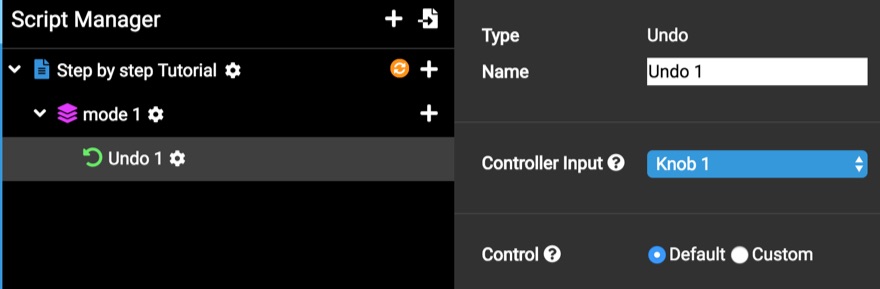
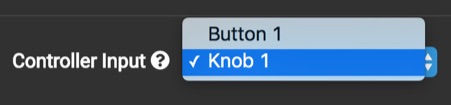
The mapping will be automatically named ‘Undo 1’. You can leave it as this or change it. The ‘Controller Input Menu will be populated with all Controls from the attached Controller. Click the ‘Controller Input’ Menu and select a Button.
You will see a blue box display around your selected Control in the MIDI Controller Area on the right. You can also click on the input in the MIDI Controller Area to select it.

For this Mapping, leave the ‘Control’ option as ‘Default. We will go into Overriding Controls further along in this tutorial.